


Table of Contents
- Step 1: Choose the Right Space
- Step 2: Gather Your Materials
- Step 3: Build Your Bowling Lane
- Step 4: Set Up the Pins
- Step 5: Time to Bowl!
- Maintaining Your Backyard Bowling Lane
- Final Thoughts
Step 1: Choose the Right Space
Before you grab your tools, figure out the perfect spot for your backyard bowling lane. Look for an area that’s at least 40-50 feet long and 6-8 feet wide. Make sure the ground is relatively level to avoid wobbly rolls. Pro tip: Choose a spot away from windows (for obvious reasons!) and bonus points if you can find a shady area for mid-summer games.
Surface Matters
When it comes to bowling, the surface is everything! Your options include:
- Grass: The easiest and cheapest option. It works great for a rustic, outdoor vibe, but you’ll need to mow and maintain it regularly for smooth rolling.
- Artificial Turf: Ideal for a sleek, consistent surface. It’s low maintenance and won’t get muddy after a rainstorm.
- Concrete or Pavers: The pro move for hardcore backyard bowlers. This creates a perfectly flat surface for that legit bowling feel, but it’s a bigger DIY project.
Step 2: Gather Your Materials
Here’s your backyard bowling shopping list:
- Wood for lane construction (2x4s for framing, plywood or decking for a smoother surface)
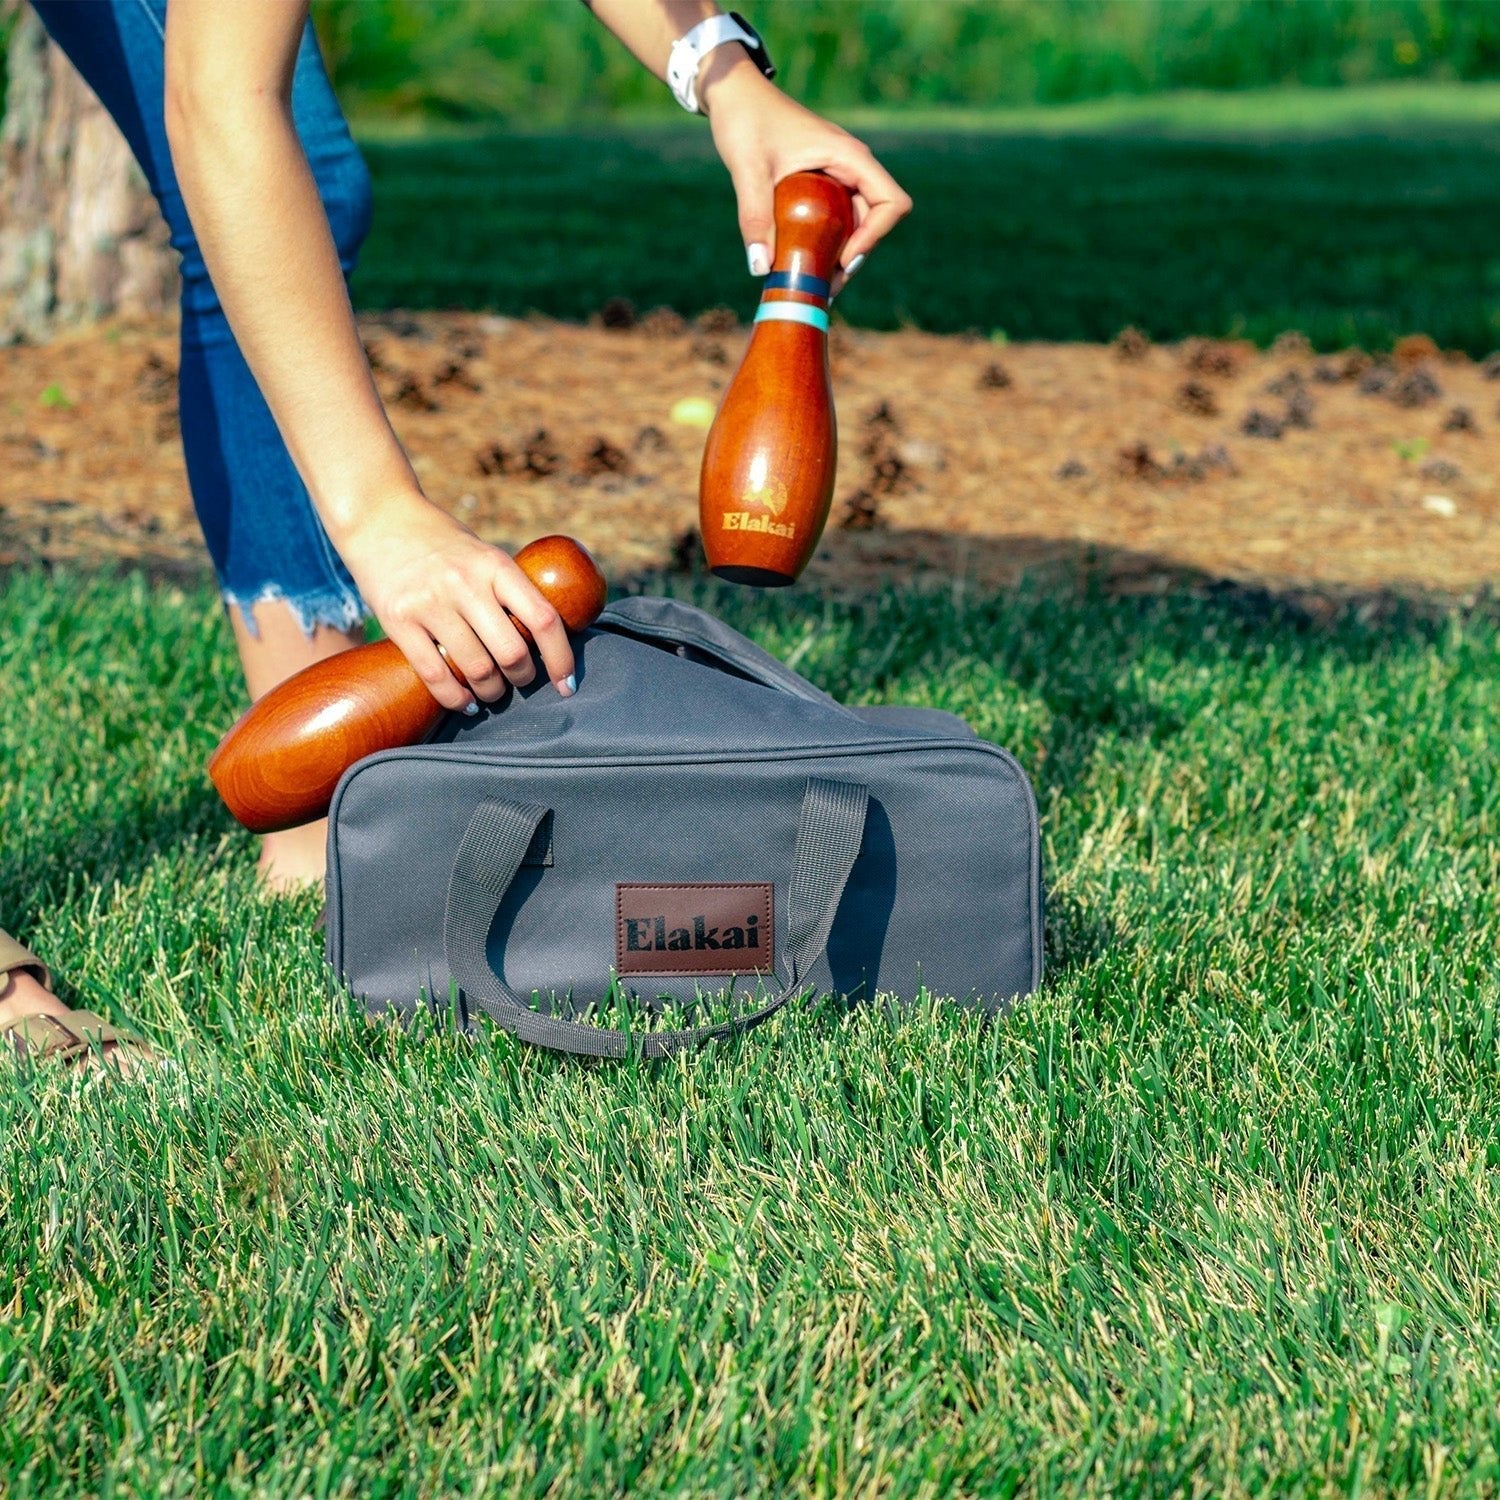
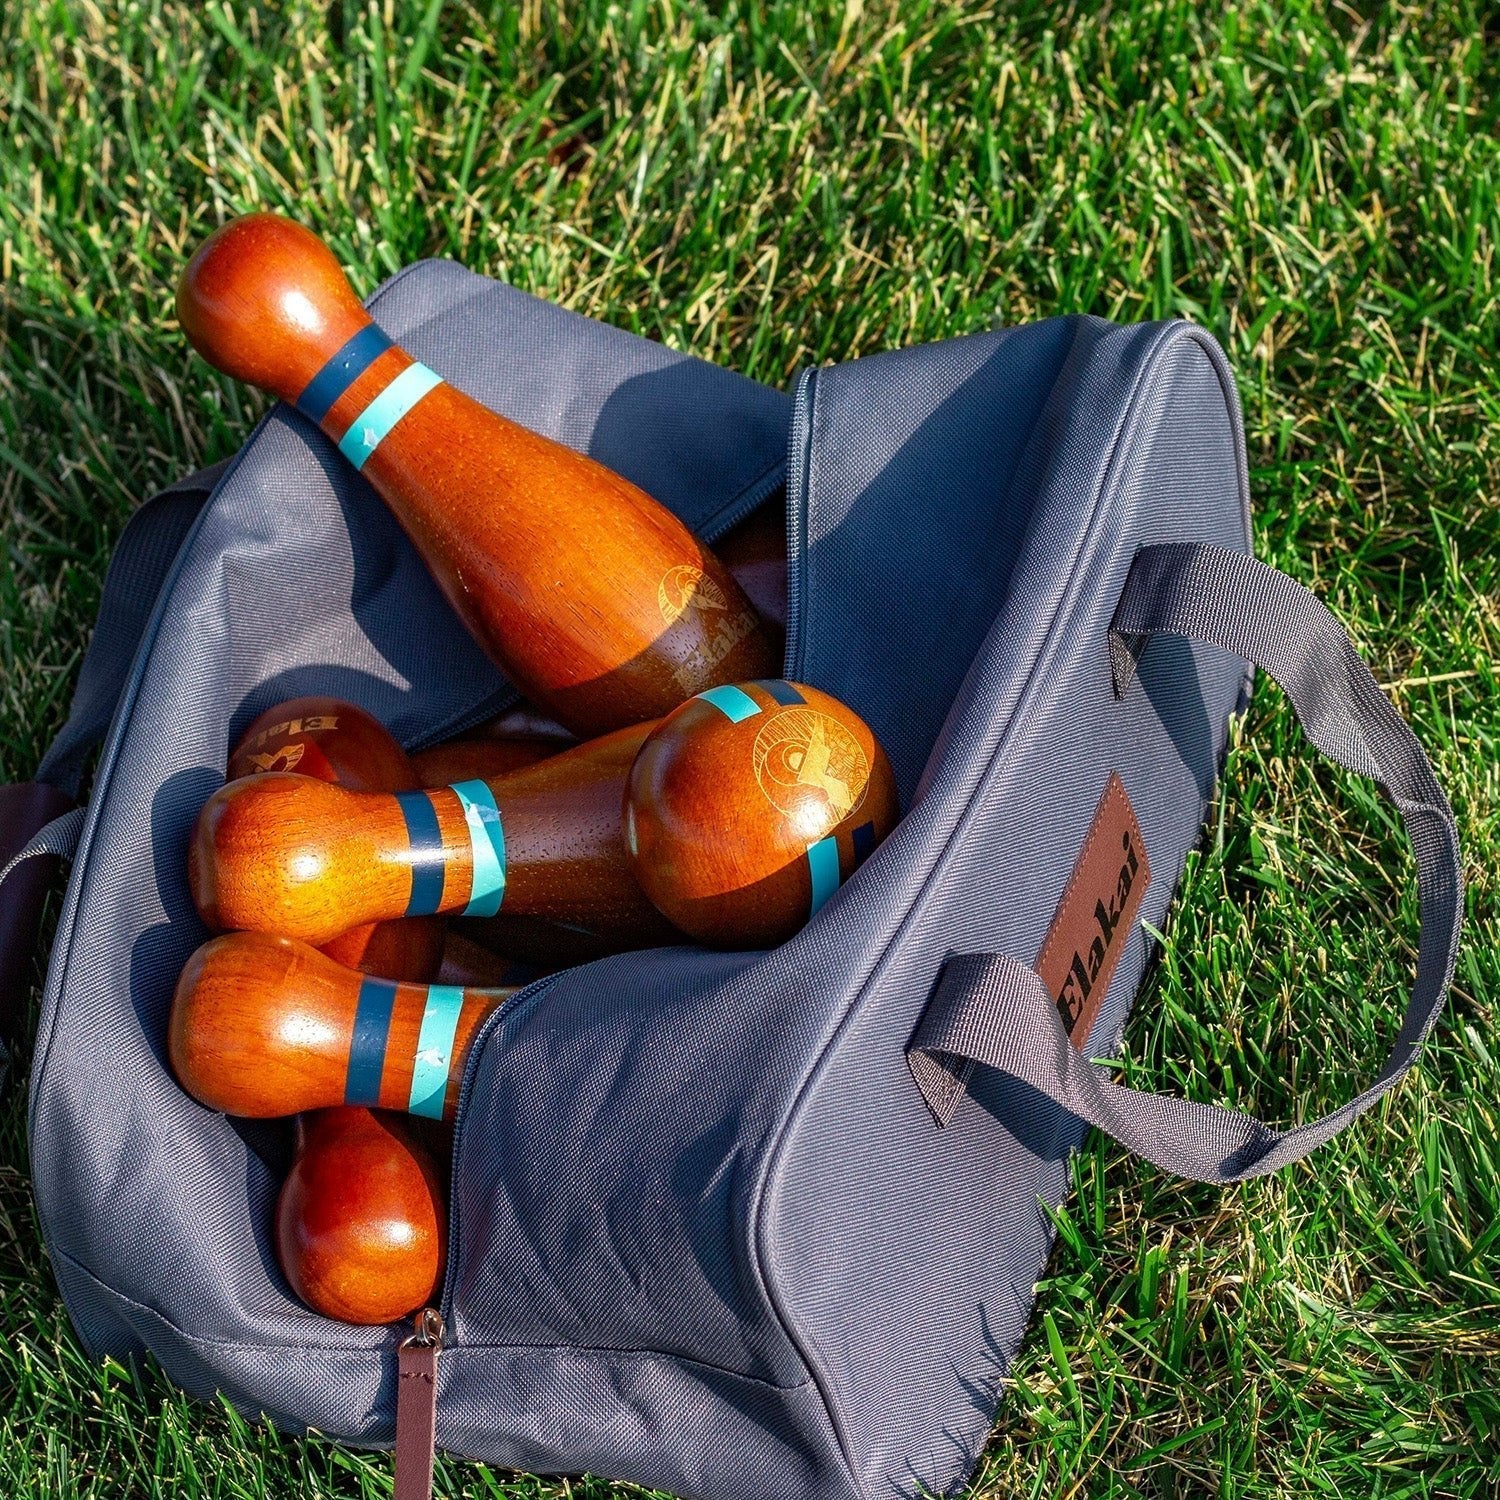
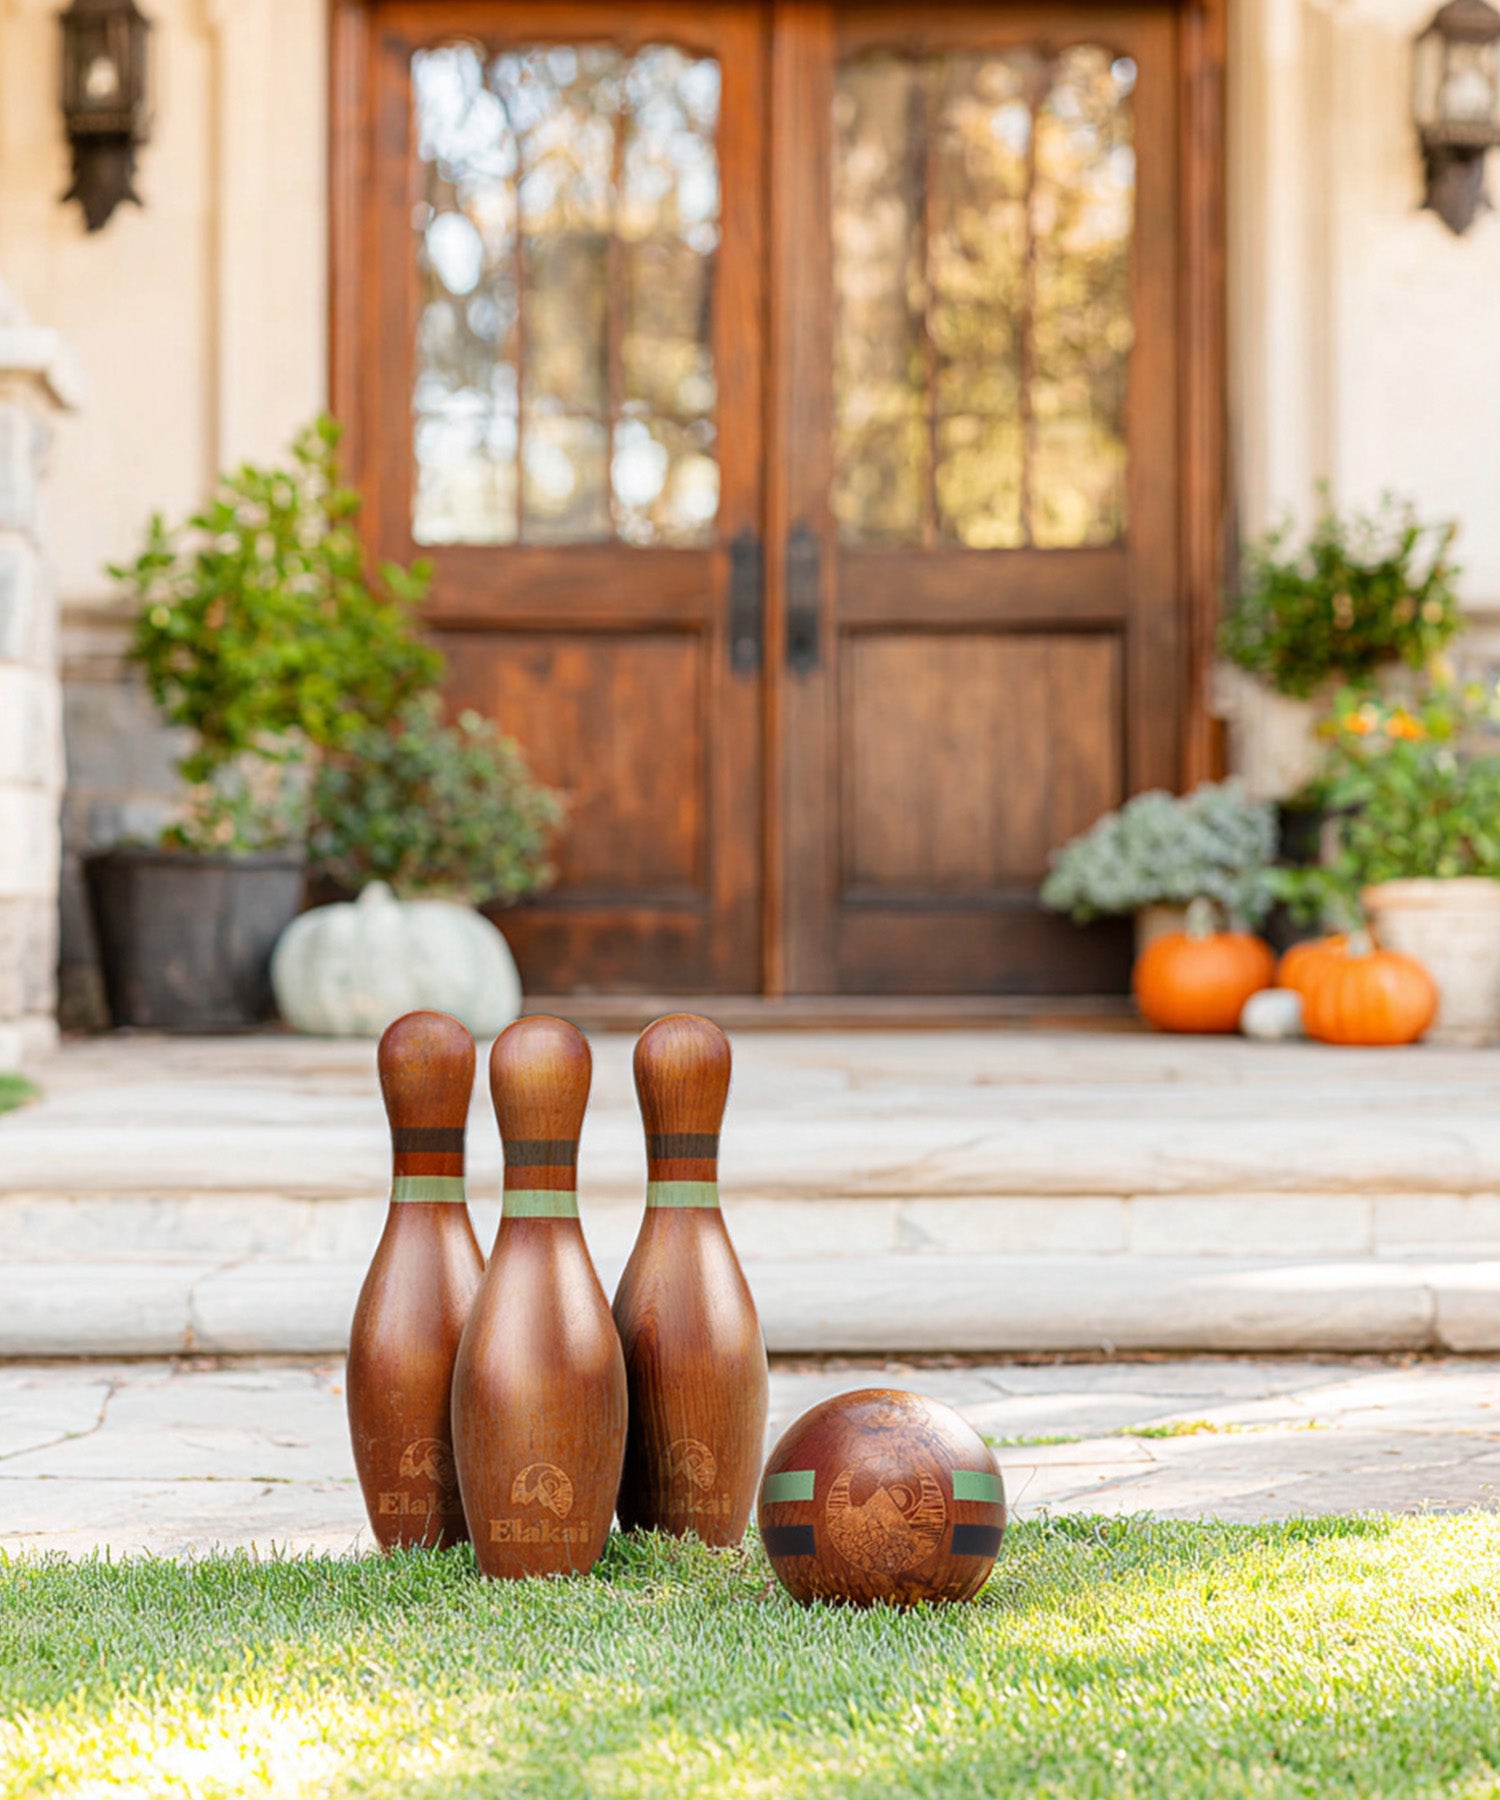
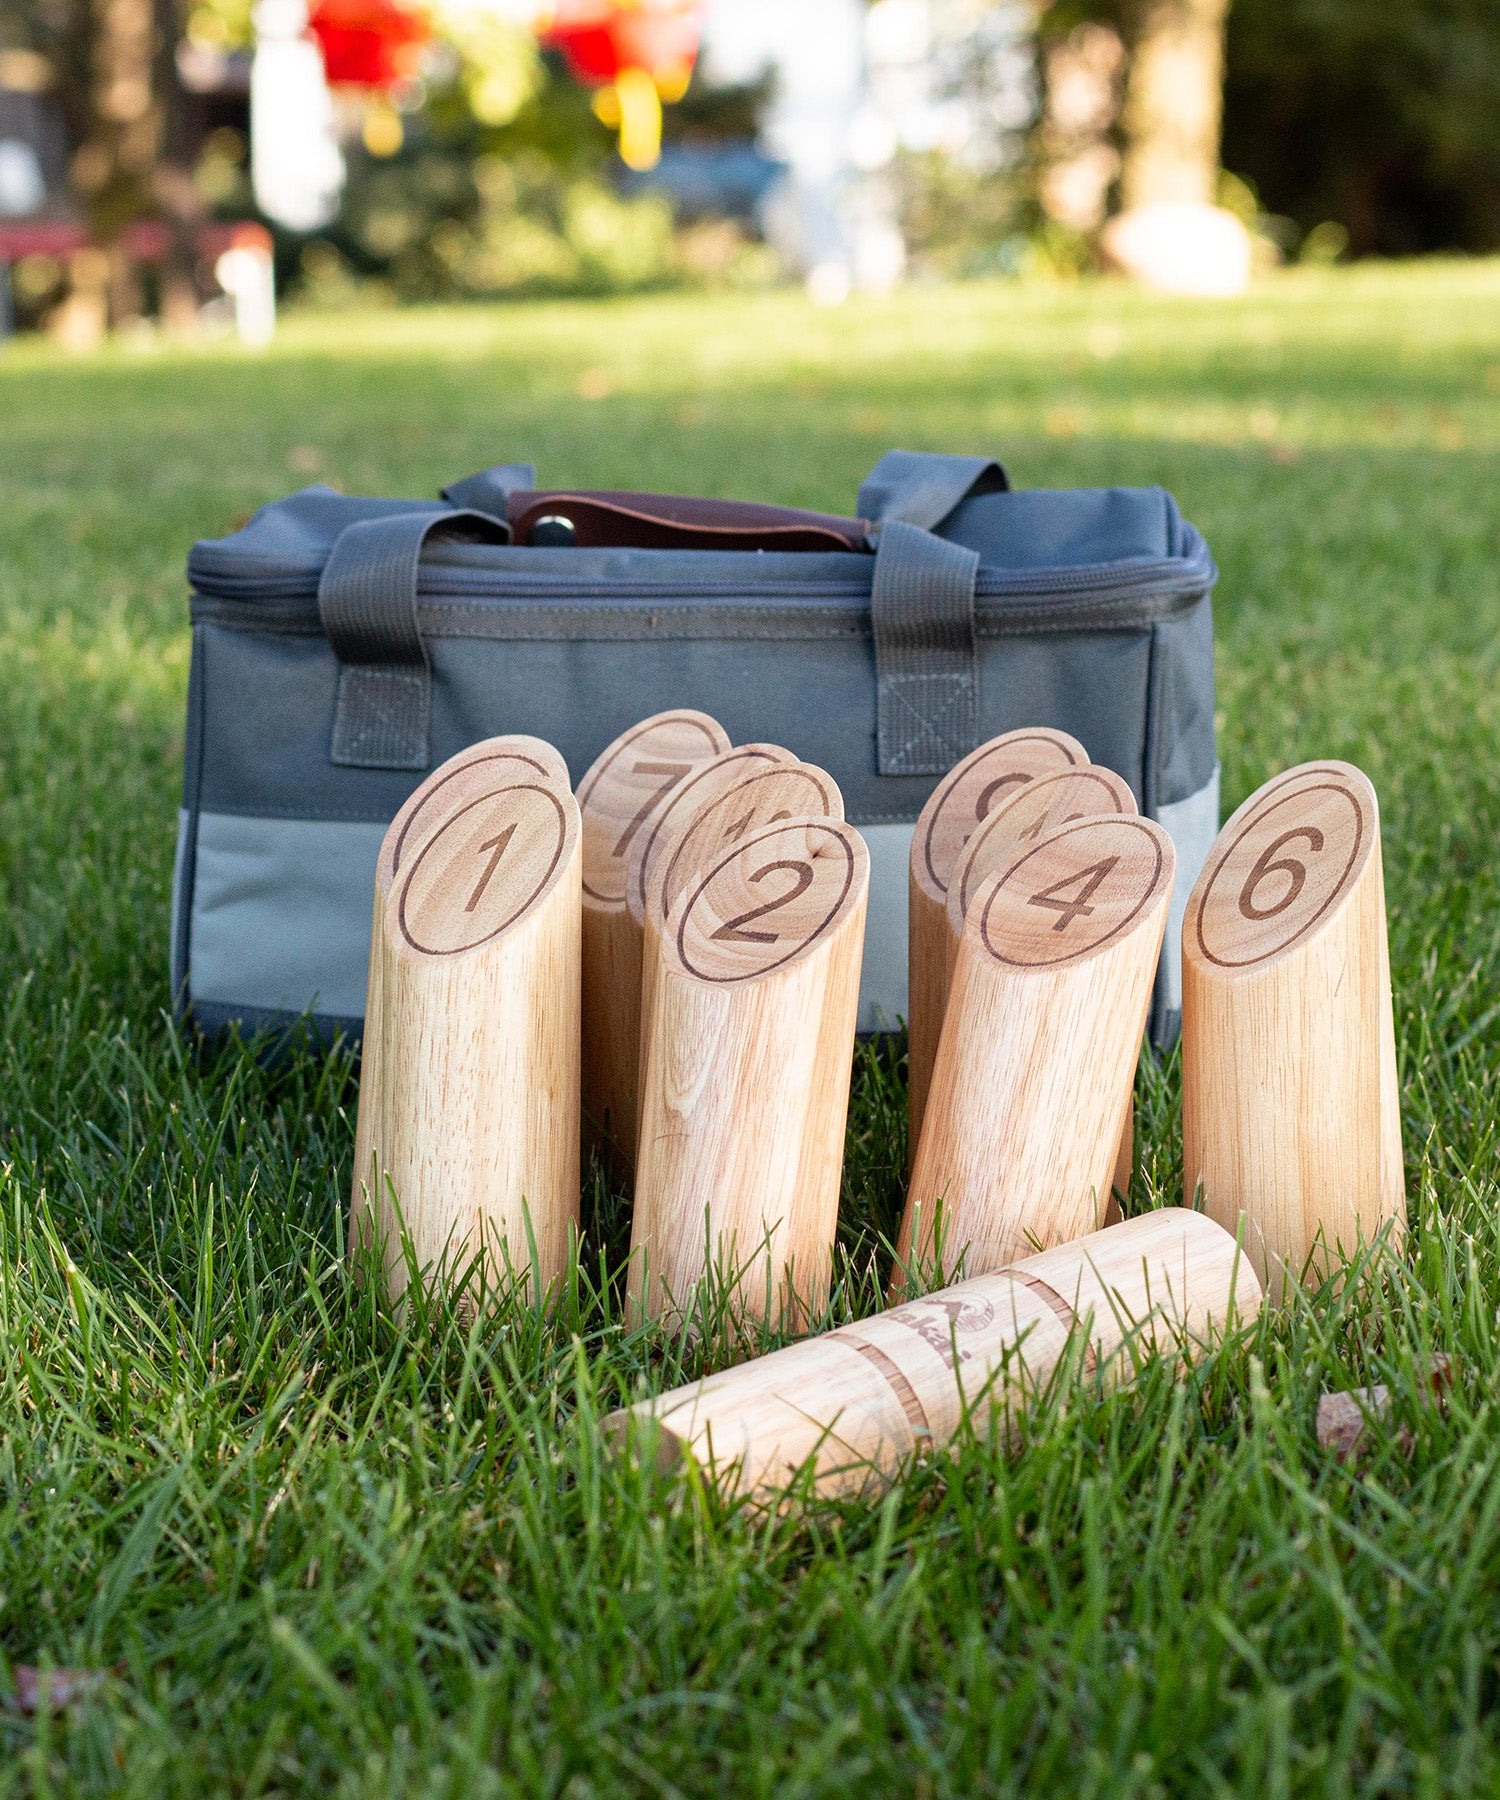
- Bowling pins (DIY these with PVC pipes, wooden dowels, or buy an inexpensive plastic set)
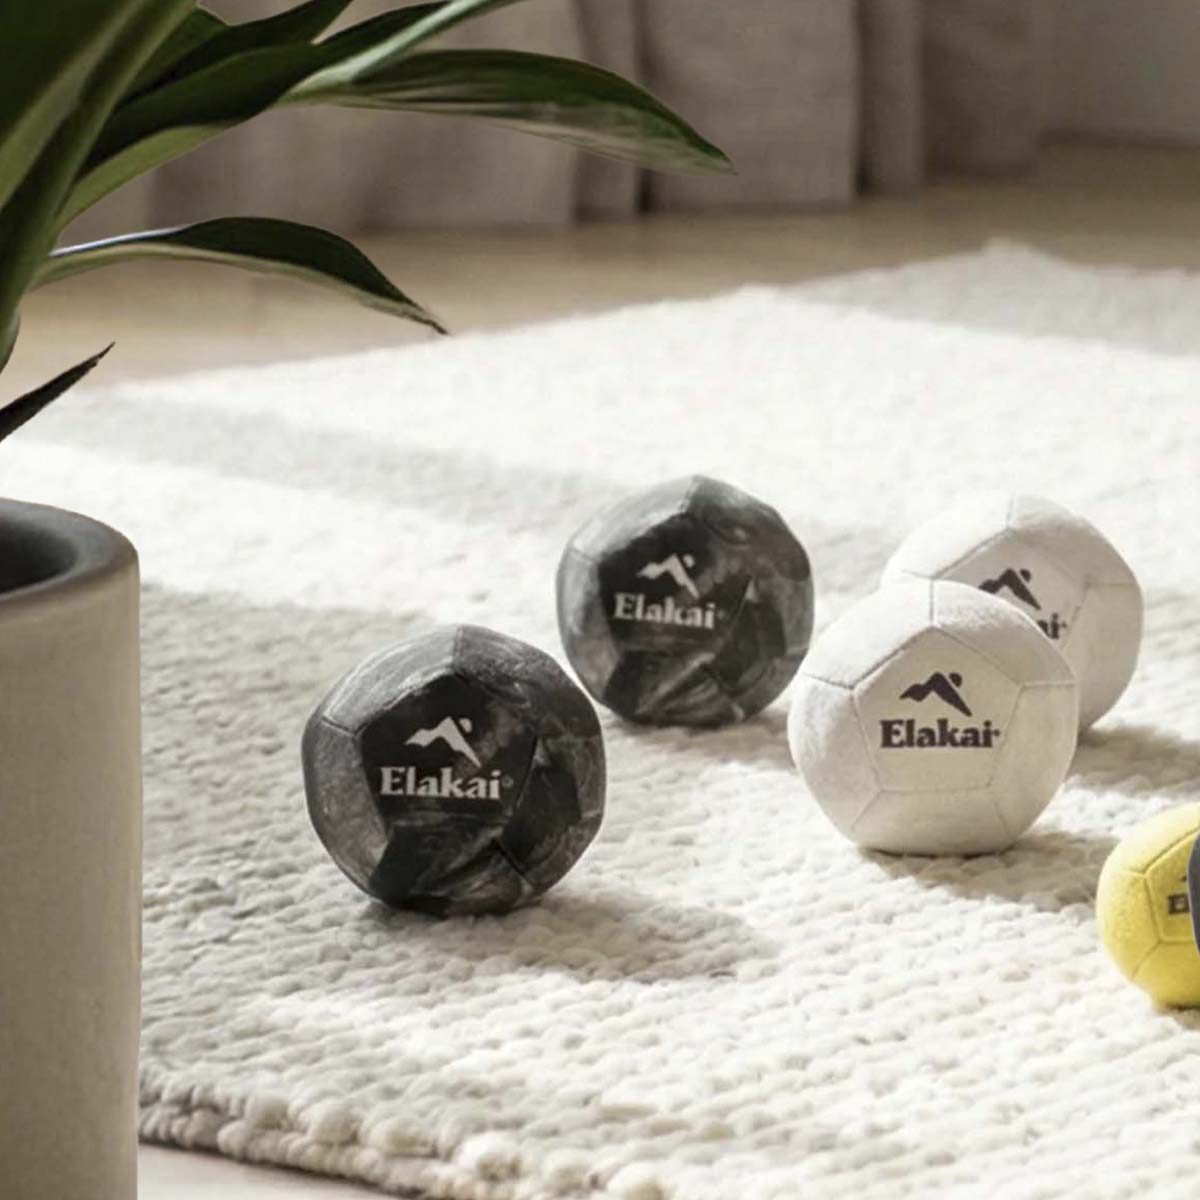
- Bowling ball (a lightweight, kid-friendly ball or even use a soccer ball for fun twists!)
- Measuring tape and level (accuracy is key for that perfect strike!)
- Nails, screws, and a hammer (basic tools for lane assembly)
- Paint or stain (if you want to spruce up your alley)
Step 3: Build Your Bowling Lane
Once you’ve got your materials, it’s time to get building! Here’s a simple breakdown of how to construct your homemade lawn bowling lane:
1. Frame the Lane:
Using 2x4s, create a long rectangle frame for the lane—standard bowling lanes are about 42 inches wide, but you can adjust for your space. Make sure it’s level to avoid rogue bowling balls veering off to the side.
2. Lay the Surface:
If you’re going the grass or artificial turf route, skip this step. But if you’re adding plywood, pavers, or decking, secure your surface inside the frame. For turf, simply roll it out and staple it down, making sure there are no wrinkles.
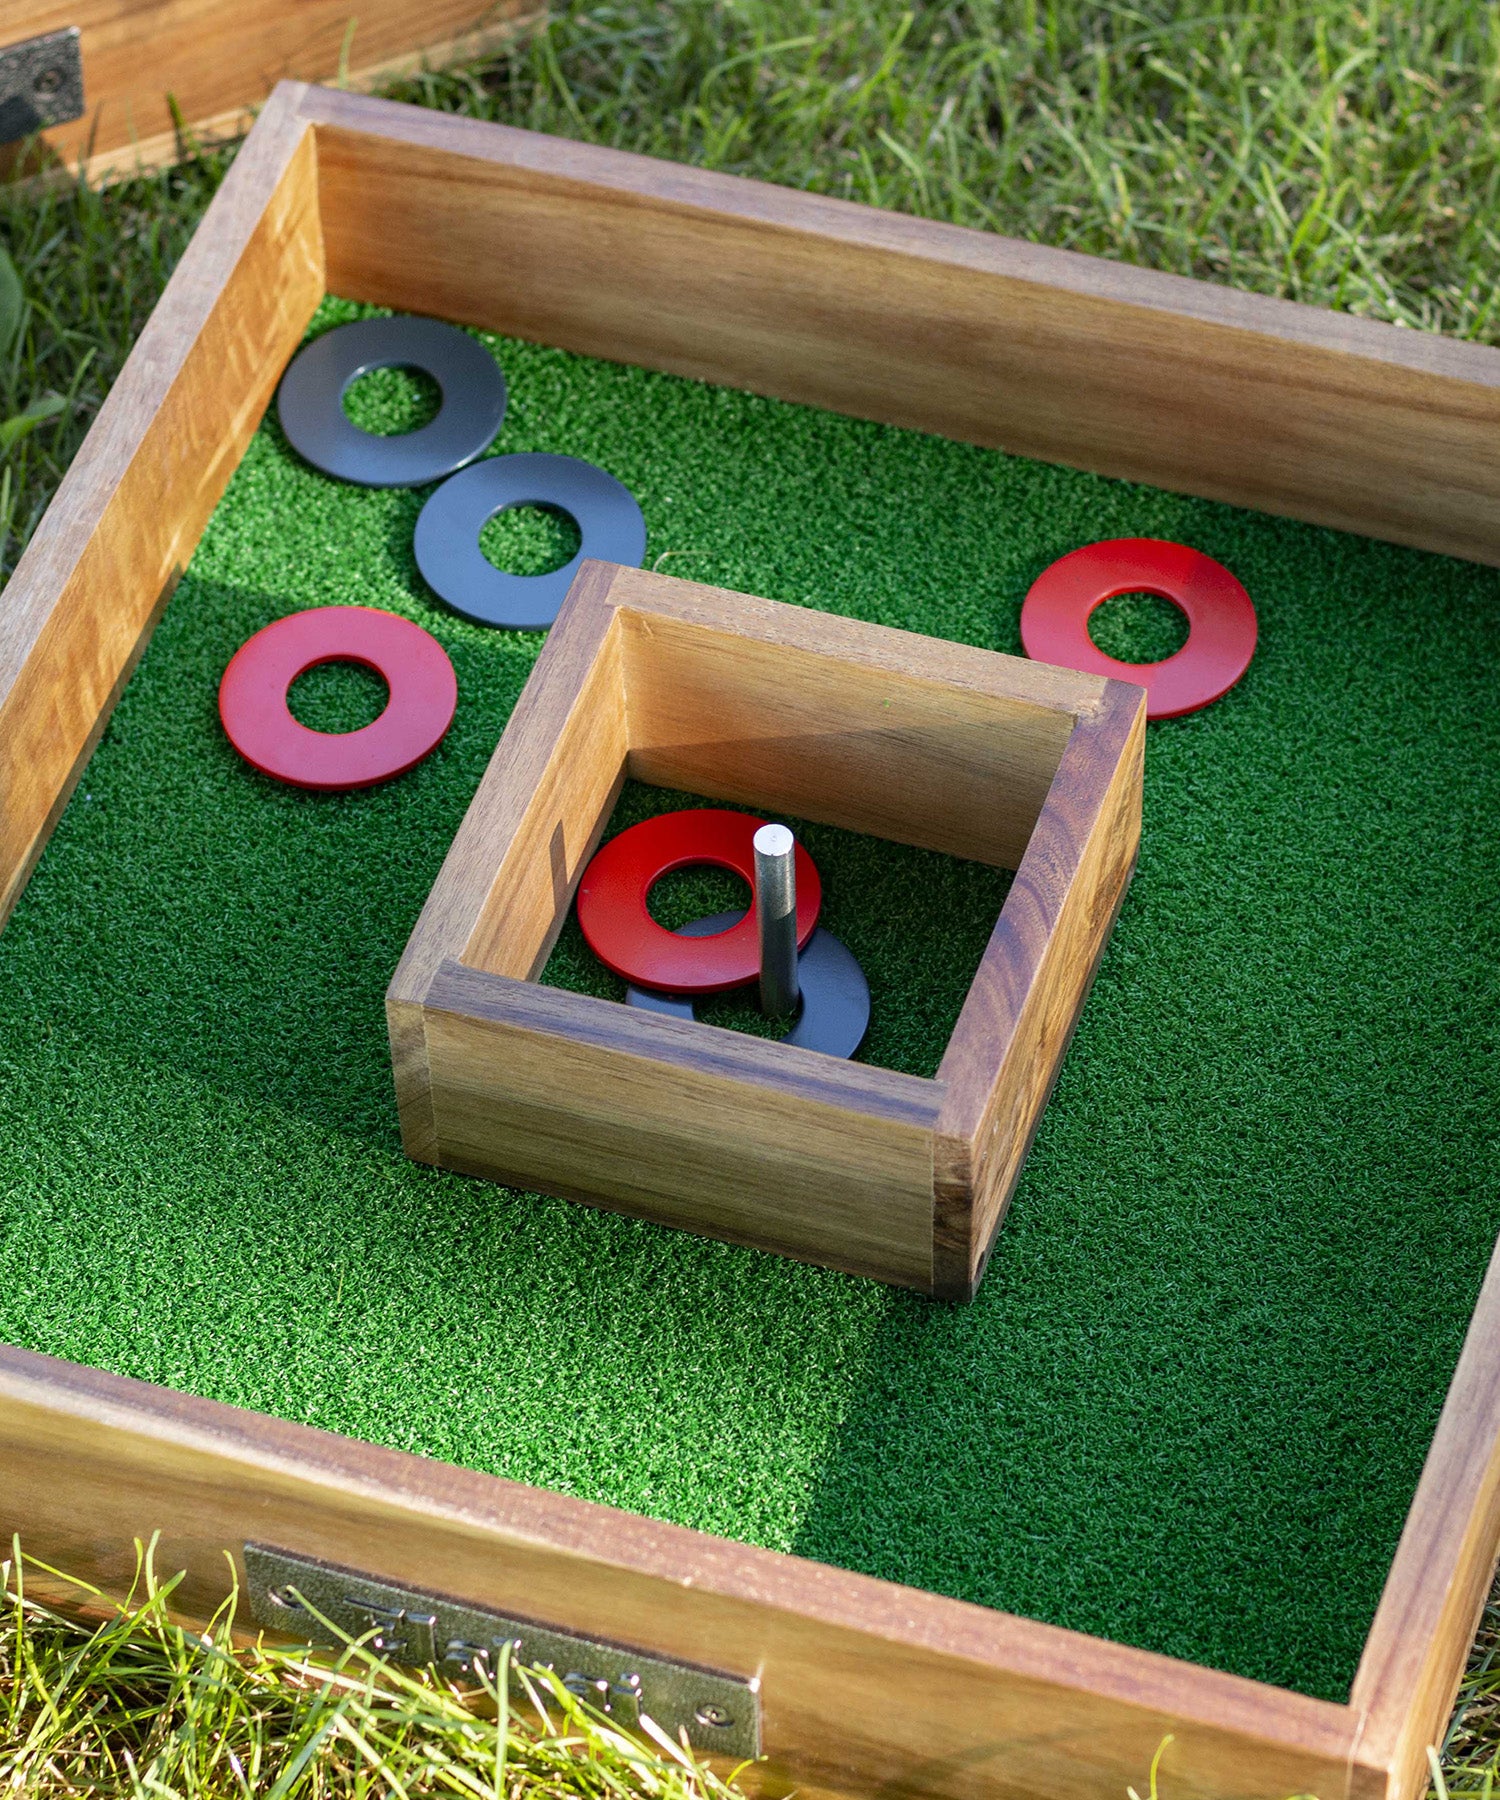
3. Add Bumpers (Optional but Fun!):
To make the game even more exciting (and easier for kids), add some bumpers. You can use pool noodles, PVC pipes, or even wood planks along the edges to keep the balls in play.
Step 4: Set Up the Pins
The official distance between the foul line and pins is 60 feet, but feel free to adjust based on the size of your space. Arrange your pins in a traditional triangle formation—10 pins total. Make sure they’re spaced evenly for that satisfying clatter when the ball hits!
Step 5: Time to Bowl!
Grab your ball and test out your new lane. Whether you’re using a soccer ball or a kid-friendly bowling ball, the fun is in the rolling! Don’t stress if your setup isn’t perfect—DIY lawn bowling is all about outdoor fun.
Maintaining Your Backyard Bowling Lane
Now that your backyard bowling setup is complete, here’s how to keep it in tip-top shape:
- Mow the grass regularly (if that’s your surface). You don’t want your ball getting stuck in the rough!
- Sweep the lane (for turf or hard surfaces). Debris can throw off your game.
- Check the frame for any loose nails or screws—especially after a high-energy family game night!
Final Thoughts
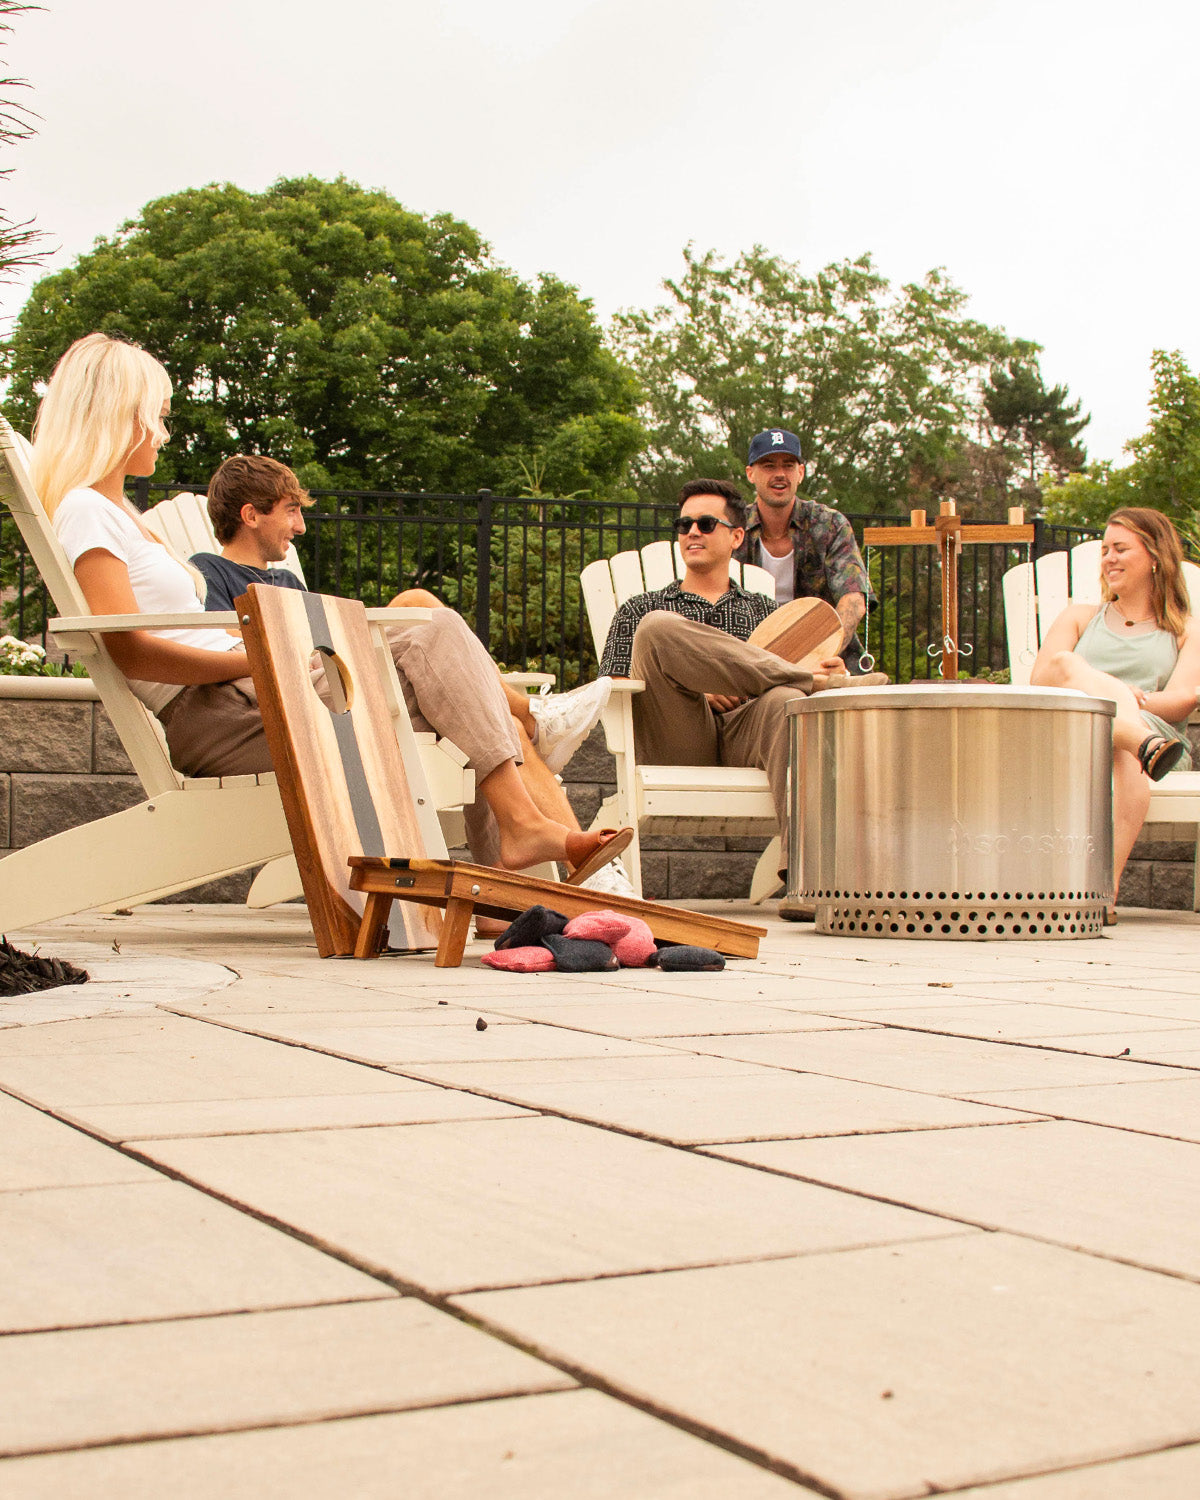
Creating a homemade lawn bowling setup doesn’t take a pro—just some basic DIY skills, a little space, and a passion for outdoor fun. Plus, it’s an awesome way to spend time with family and friends in the sunshine. So, why not give it a try? With a little elbow grease, you’ll have the coolest outdoor bowling alley in town. And who knows? You might even perfect your strike!
Ready to get rolling? Try building your own lane and let the games begin!

