


Setting up a Kubb pitch in your backyard is the first step toward an epic game of Viking-style fun. Whether you’re a seasoned Kubb enthusiast or a curious newbie, having a well-prepared pitch can make all the difference. Here’s your step-by-step guide to creating the perfect Kubb pitch that will have you and your friends tossing batons and kubbs like pros in no time.
Table of Contents
- Choose the Right Location
- Measure and Mark the Pitch
- Set Up the Baseline Kubbs
- Place the King
- Prepare the Pitch Surface
- Test Your Setup
- Add Some Finishing Touches
Choose the Right Location
The first step in setting up your Kubb pitch is selecting the perfect spot in your backyard. You’ll want a space that’s flat, even, and free from obstructions like tree roots or garden gnomes.
- Flat Ground: Kubb is best played on level ground, so try to find a spot that’s as flat as possible. Slopes can cause the kubbs to roll or fall unexpectedly, throwing off your game.
- Space: A regulation Kubb pitch is 5 meters (16 feet) wide and 8 meters (26 feet) long, but you can adjust this based on the size of your yard and the skill level of the players.
- Shade: If possible, choose a spot with some shade, especially if you plan on playing during the heat of the day. This will keep players comfortable and focused on the game.
Measure and Mark the Pitch
Once you’ve found the perfect location, it’s time to measure and mark the pitch. Precision is key here, so grab your measuring tape and some markers or stakes.
- Pitch Dimensions: The official dimensions for a Kubb pitch are 5 meters wide and 8 meters long. If you’re short on space, you can scale this down slightly, but try to keep the proportions consistent.
- Mark the Corners: Use stakes, cones, or any other visible markers to define the four corners of your pitch. This will help you visualize the play area and keep everything aligned.
- Draw the Baselines: Mark the baselines at each end of the pitch. This is where you’ll place your baseline kubbs. You can use string, chalk, or even just eyeball it if you’re feeling confident.
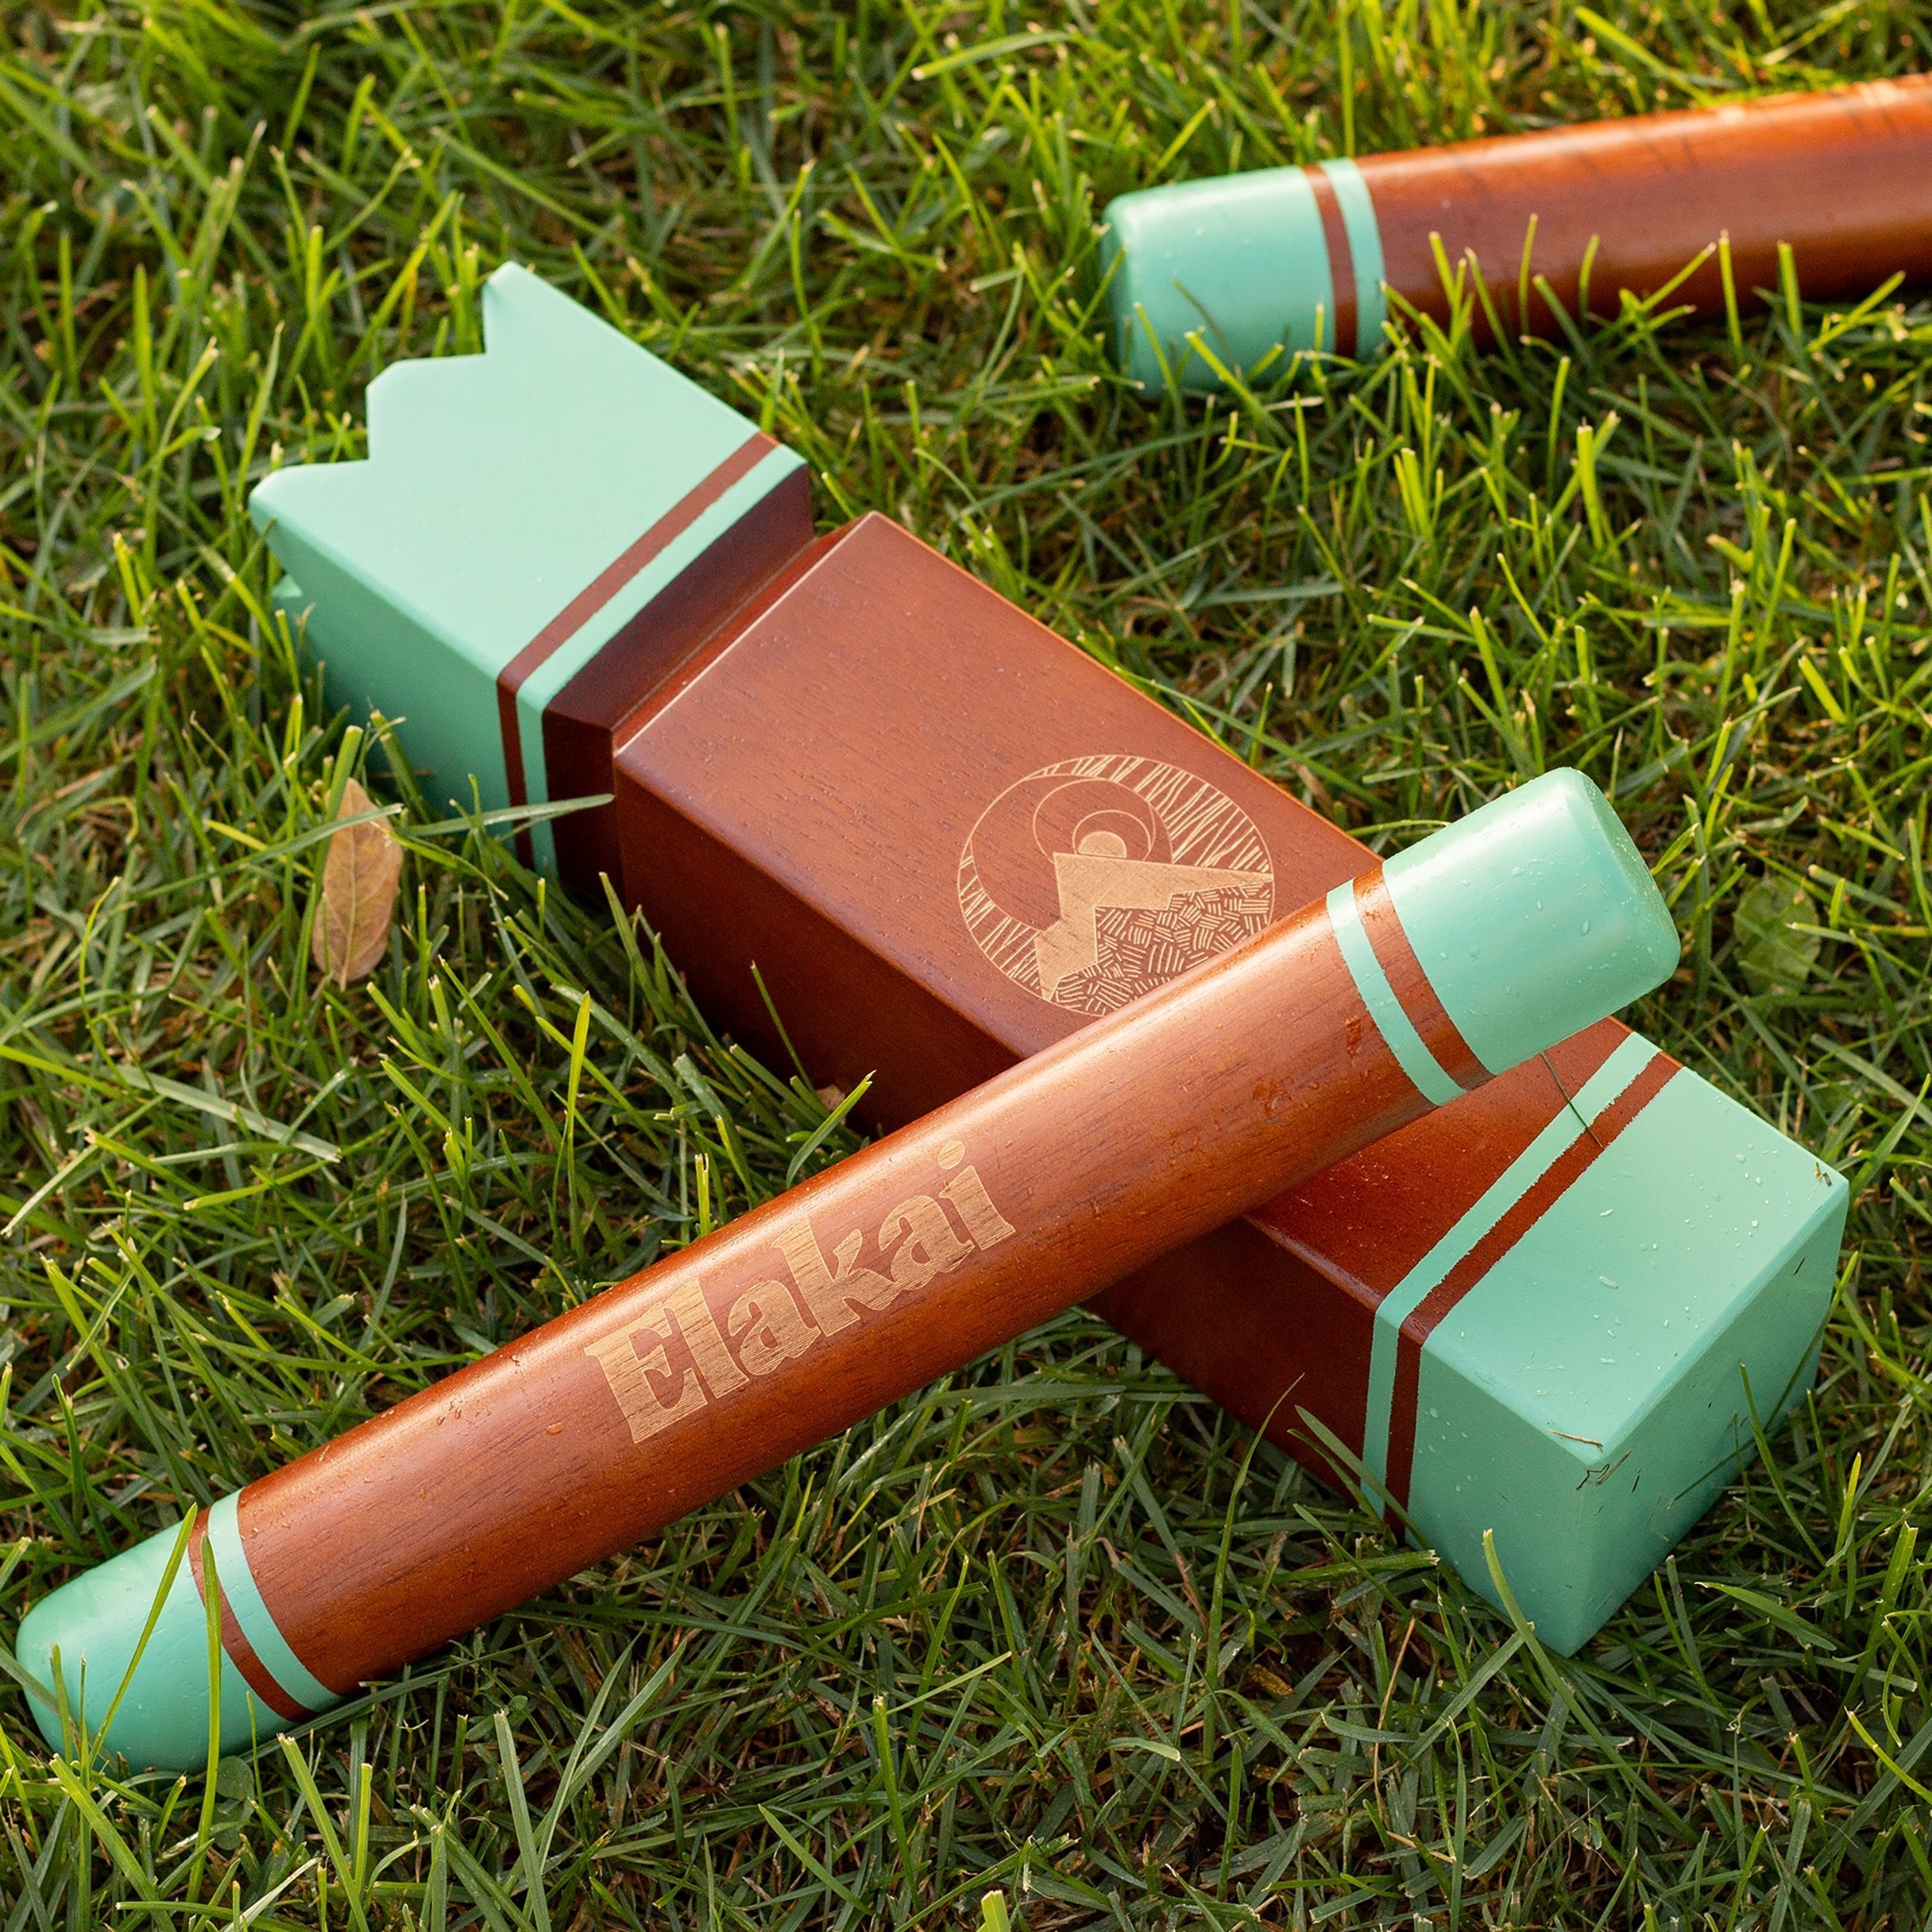
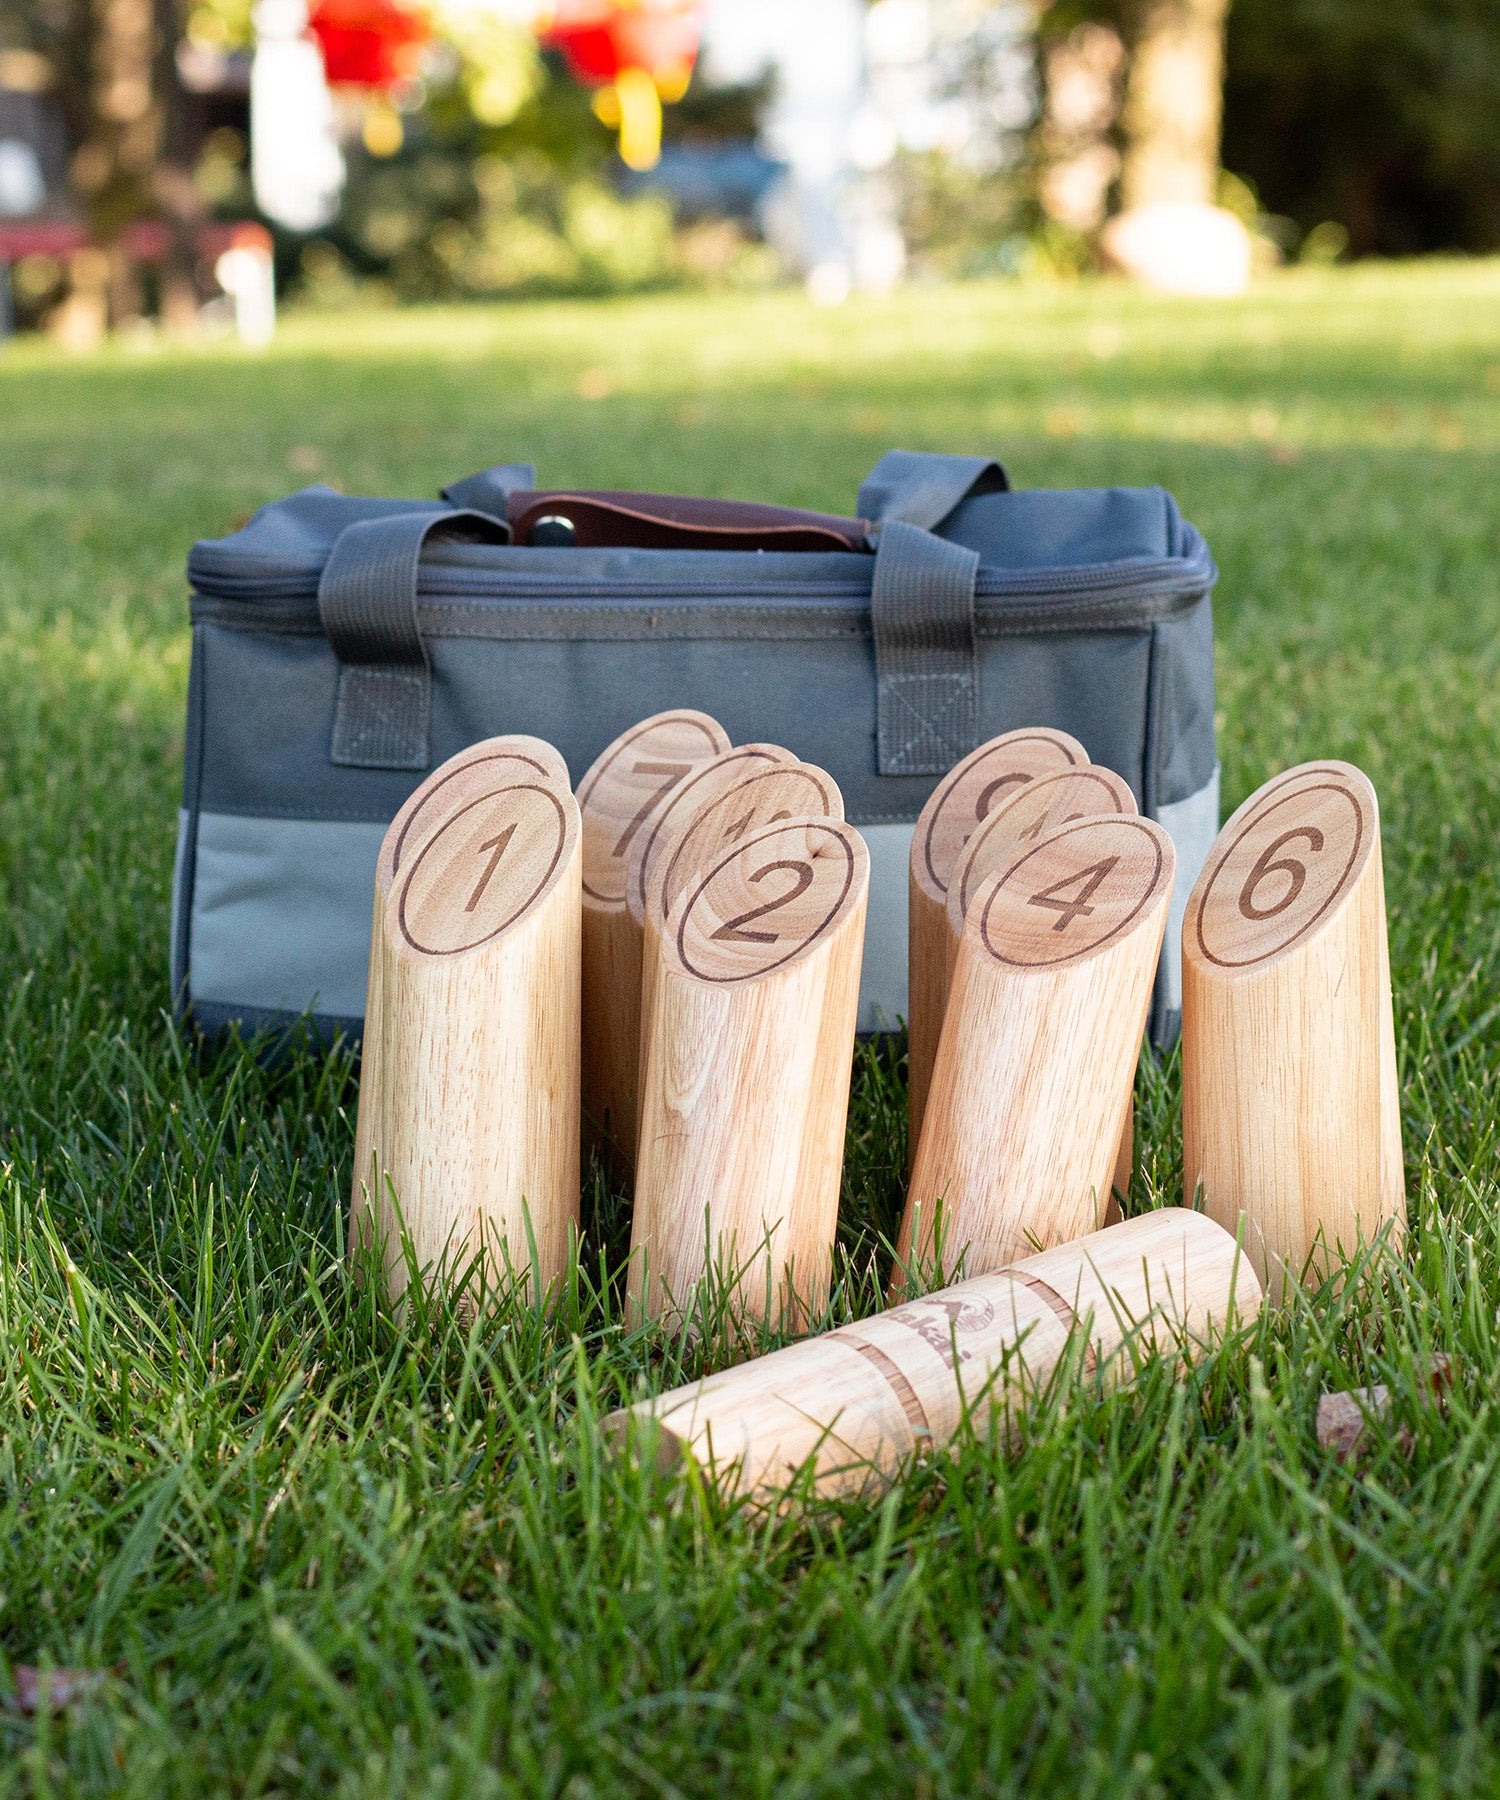
Set Up the Baseline Kubbs
Now that your pitch is marked, it’s time to set up the baseline kubbs. These are the foundation of your game, so placement is important.
- Even Spacing: Place five kubbs evenly along each baseline. If you’ve marked your pitch correctly, the kubbs should be spaced about 1 meter (3 feet) apart.
- Alignment: Make sure the kubbs are aligned with each other and parallel to the baseline. This will ensure a fair and balanced game.
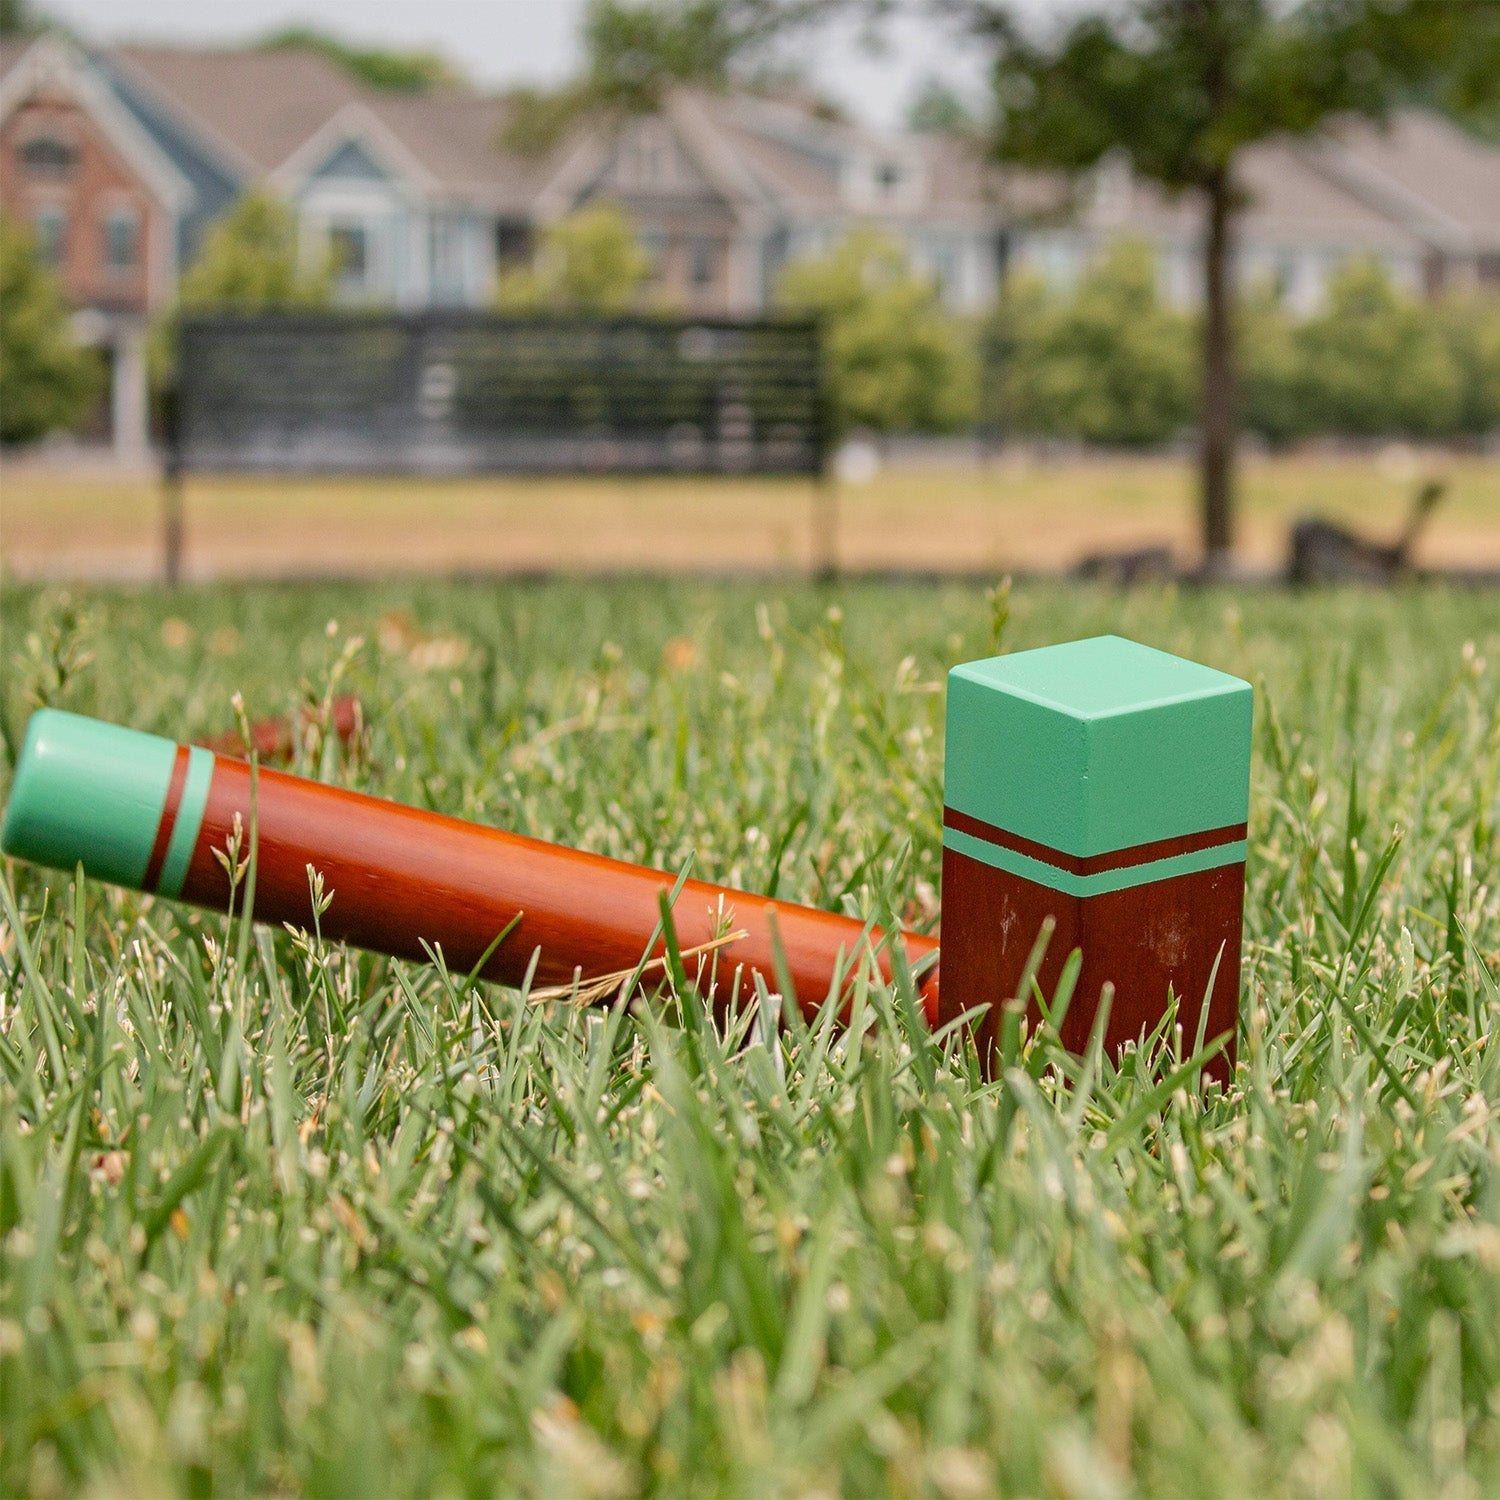
Place the King
The King is the centerpiece of your Kubb pitch and the key to winning the game. Proper placement is crucial.
- Center of the Pitch: The King should be placed exactly in the center of the pitch, halfway between the two baselines. If you’ve measured correctly, this will be 4 meters (13 feet) from each baseline.
- Stability: Make sure the King is standing upright and stable. You don’t want it toppling over at the slightest breeze or errant toss.
Prepare the Pitch Surface
With the kubbs and King in place, it’s time to prepare the pitch surface. A smooth, even surface will help the kubbs stand up and make the game more enjoyable.
- Mow the Lawn: If you’re playing on grass, give it a good mow before setting up. Short grass provides a smoother surface for the kubbs to stand on.
- Clear Debris: Remove any sticks, rocks, or other debris from the pitch. These can interfere with the game and cause kubbs to fall unexpectedly.
- Level the Ground: If you notice any bumps or uneven spots, try to level them out as much as possible. A flat surface will help ensure that the kubbs stay in place during the game.
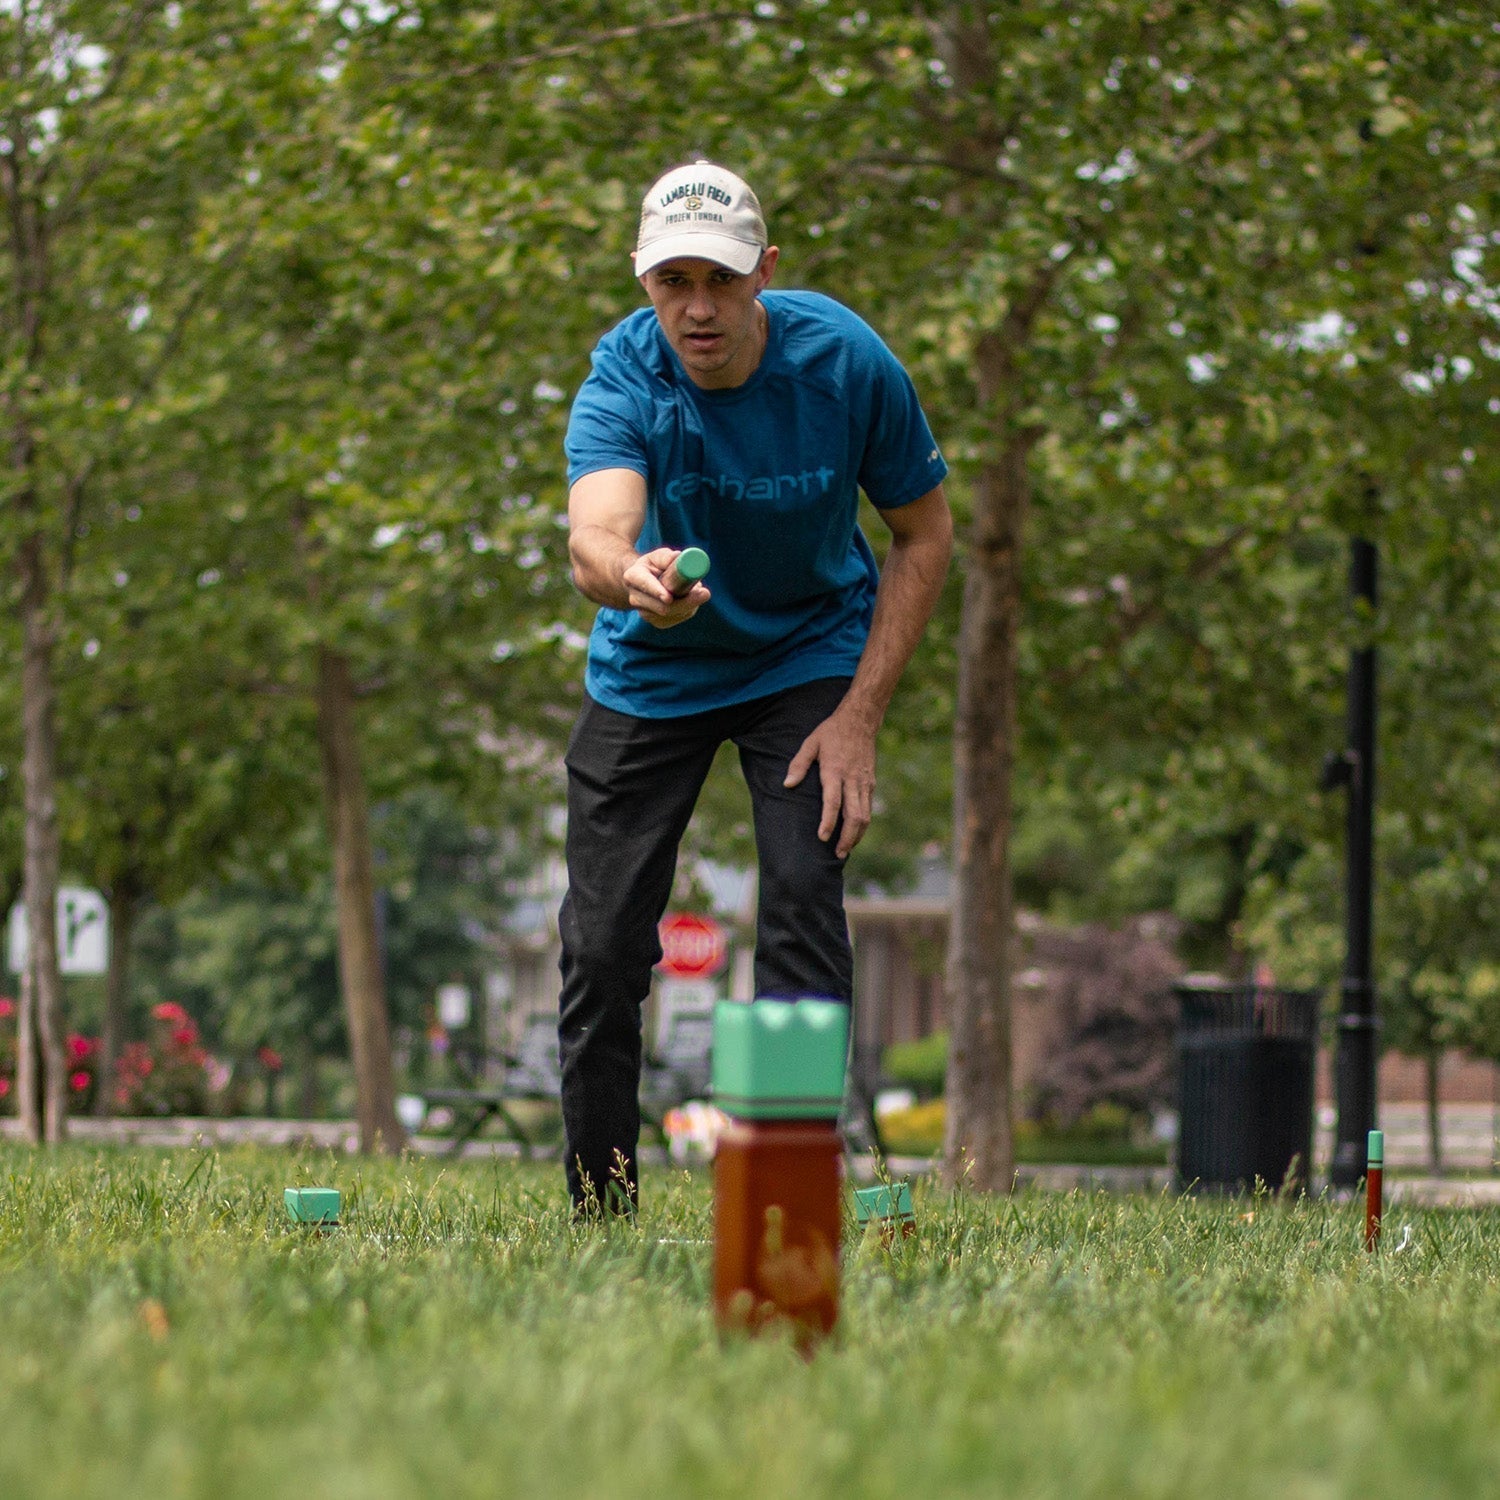
Test Your Setup
Before you invite your friends over for a Kubb match, it’s a good idea to test your setup. This will help you catch any issues and make adjustments before the game begins.
- Practice Throws: Take a few practice throws to see how the kubbs stand up to impact. If they fall too easily, you might need to level the ground or adjust their placement.
- Check the Boundaries: Make sure the pitch boundaries are clear and visible. If necessary, reinforce them with additional markers or chalk lines.
Add Some Finishing Touches
Now that your pitch is set up and tested, it’s time to add some finishing touches to enhance the experience.
- Boundary Lines: For an official look, consider marking the boundary lines with chalk or string. This helps players know when they’re stepping out of bounds.
- Scoreboard: If you’re playing a competitive game, set up a simple scoreboard nearby. You can use a whiteboard, chalkboard, or even just a notepad.
- Refreshments: Kubb games can last a while, so make sure you have some refreshments on hand. A cooler with drinks and snacks nearby will keep players happy and hydrated.
Conclusion
Setting up the perfect Kubb pitch in your backyard doesn’t have to be complicated. With a little planning and attention to detail, you can create a pitch that’s ready for hours of fun and competition. So, what are you waiting for? Get out there and start tossing those batons!
Need a high-quality Kubb set? Check out our premium Kubb sets designed for durability and perfect gameplay. Your backyard Kubb pitch deserves the best!


